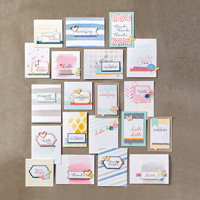
Last night I put together the Watercolor Wishes Kit. OHHH I love it. I made all those card in just a few hours and they are all unique and beautiful. I enjoyed that the kit had everything I needed to complete each of these cards AND extra goodies to make more. The kit has the block, the STAMPS, the inks, the embellishements, card bases, envelopes, step by step color instructions. It is just FUN!
SO I was working with these last night and I fell in L.O.V.E. with the stamps set. The script on the set. I loved all the beautiful sentiments. I am all for a Happy Birthday but I really like the Happiest Birthday Wishes it just made me smile. SO I used the stamps from the Watercolor Wonder kit to create the C.O.W. (card of the week) I ALSO wanted to share that I will be creating ONE monthly PDF with all the instructions for the Cards of the Week. If you would like step-by-step directions please just let me know.
I also wanted to add a quick tip. As you can see I did not use the sentiment from the In this Together set (133869) because I wanted to add the Happiest Birthday Wishes sentiment. When a stamp set has the sentiment on the bottom like the "it's time to celebrate" image from In this Together it is a simple fix. Simply cut a post-it to cover the sentiment (see below), ink the image, remove the post-it and stamp.
 |
| Notice I cut out the image after stamping it on the post it. I did this to ensure the least amount of opportunity for ink to gather. |
To make this card you would need:
Copic Markers of your color choice.
Craft Foam (I use adhesive backed foam)
 |
| Watercolor Wishes Card Kit |
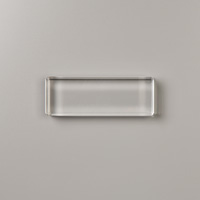 |
| H Block |
 |
| Piercing Mat |
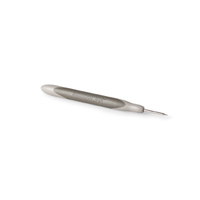 |
| Piercing Tool |
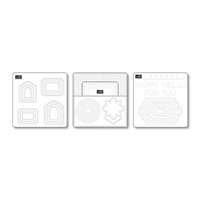 |
| Updated Essentials Paper Piercing Pack |
 |
| Memento Tuxedo Black Ink |
 |
| Metallics Sequin Assortment |
 |
| In This Together |
I hope you enjoy this weeks C.O.W. I am looking for a few contributors to the C.O.W. portion if you are interested please send me an email at gzuswins@gmail.com
Hope your challenge cards are coming along nicely. I look forward to seeing them!
Have a blessed day and tomorrow I have something I know you will enjoy! A fun technique for casting light!
Until then
Blessings Friends
Erika


%2Bcopy.jpg)